Exploring the New Native env File Support in Node.js
Back in 2011, The Twelve-Factor App laid out some fundamental principles about keeping configuration separate from code. It became the go-to guide for how we handle environment variables, influencing everything from Docker's ENV directives to how we structure modern applications.
Fast forward to September 2023, and Node.js v20.6.0 shipped with something developers had been asking for: native .env file support. No more reaching for external libraries for basic environment file loading.
Let's explore what this native functionality can do, how it's evolved over the past year, and when you might still want to consider alternatives.
Getting started with native .env files
Let's create an .env file. This file is a list of name value pairs for the environment variables we want to set. For example it might look like:
FOO=from-env
BAR=from-env
We can run a node process to inspect the environment variables that have been set.
node --env-file .env -e "console.log(process.env)"This command prints out process.env. This is an object containing the environment variables for the process and returns all the environment variables from your shell, along with the environment variable from the env file that was injected. We can see that the environment variables from our .env file have been injected.
{
  USER: 'ian',
  LANG: 'en_GB.UTF-8',
  HOME: '/Users/ian',
  FOO: 'from-env',
  BAR: 'from-env',
  ...
}
Pretty straightforward, right? No external dependencies, no setup complexity. The environment variables from your .env file are automatically available in your Node.js process. Let's see what else this native support can handle.
Working with multiple environment files
Sometimes you need different configurations for different environments. Let's create a development-specific file called .env.dev:
BAR=from-devMultiple --env-file arguments can be referenced on the node command line.
node --env-file .env --env-file .env.dev -e "console.log(process.env)"Notice how the last file wins when there are conflicts. This gives you a clean way to layer configurations - start with your base settings, then override with environment-specific values.
{
  FOO: 'from-env',
  BAR: 'from-dev',
  ...
}
How shell variables take precedence
Here's something useful to know: shell variables always win over .env file
values. Whether you've set a variable globally with export FOO=from-shell or
just for a single command by prefixing it with the
assignment
like FOO=value command, the shell value takes precedence.
FOO=from-mod node --env-file .env --env-file .env.dev -e "console.log(process.env)"{
FOO: 'from-mod',
BAR: 'from-dev',
...
}Controlling Node.js startup with environment files
The --env-file argument is processed during Node.js startup, before Node environment variables are handled. This means you can control Node.js itself through your .env files. Let's set up debugging as an example:
Create the file .env.debug with the arguments to wait for the debugger to connect and take control.
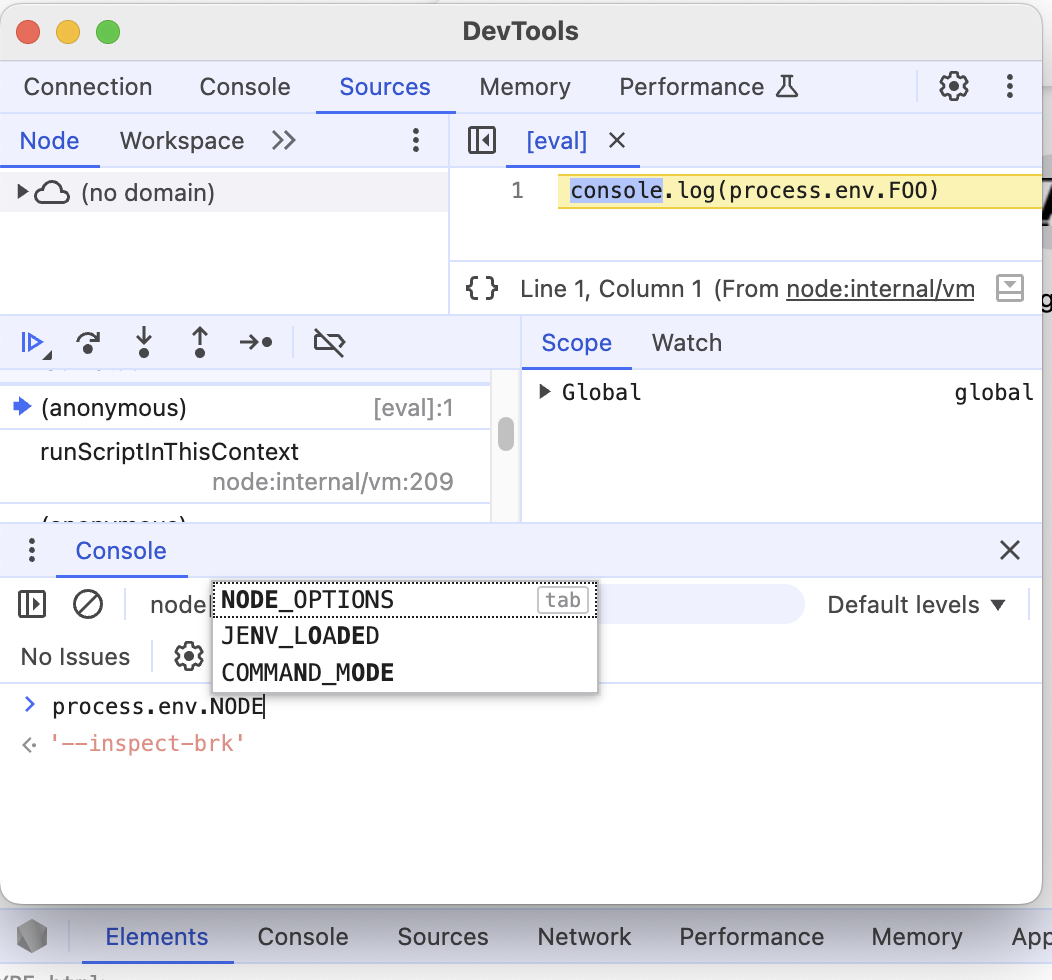
NODE_OPTIONS=--inspect-brkOpen up the node debugger in Chrome DevTools. You can open this from View -> Developer -> Developer Tools in the Chrome browser menu. Then click on the "Open dedicated DevTools for Node.js" icon.
Now run the command with this env file
node --env-file .env.debug -e "console.log(process.env.FOO)"You should see the debugger attaching
Debugger listening on ws://127.0.0.1:9229/c84d172c-bf64-43b1-a525-b9d2d143ae5e
For help, see: https://nodejs.org/en/docs/inspector
Debugger attached.
Now you can debug your Node.js process directly in Chrome DevTools. This approach is particularly handy when you want to debug different environments without changing your command line every time.
Support for multi-line environment variables
As of v20.12.0 (March 26, 2024), you can use multi-line values in your .env files (#51289). This is useful for things like JSON configuration or multi-line strings.
Create an .env file with a variable that spreads across multiple lines. Note that the value should be wrapped in double quotes to mark the start and the end of the value.
FOO="Value
over
many
lines"
And then run
node --env-file .env -e "console.log(process.env.FOO)"This outputs the multi-line value exactly as expected:
Value
over
many
lines
Making environment files optional
Sometimes you want to use an environment file only if it exists, without breaking your application if it's missing. This is particularly useful when you have sensible defaults and only want to override them when needed.
Node.js v22.9.0 (September 17, 2024) added the --env-file-if-exists argument for exactly this purpose.
node --env-file-if-exists .env.opt -e "console.log(process.env.FOO || 'default')"When the file doesn't exist, Node.js continues gracefully:
.env.opt not found. Continuing without it.
default
If we use the --env-file argument we see that the process exits with an error.
❯ node --env-file .env.opt -e "console.log(process.env.FOO)" || echo "oops"
node: .env.opt: not found
oops
And when the file does exist, it works as expected:
> echo FOO=from-opt > .env.opt
> node --env-file-if-exists .env.opt -e "console.log(process.env.FOO || 'default')"
from-opt
Compatibility with shell-style export statements
Node.js thoughtfully ignores the export keyword in .env files, which helps
with compatibility across different tooling.
With the .env file
export FOO=from-envthe FOO variable is loaded OK
> node --env-file .env -e "console.log(process.env.FOO)"
from-env
This is handy because tools like direnv use .envrc
files that are actually shell scripts, requiring the export keyword. While
Node.js can't execute these files as scripts, ignoring the export keyword
means many of these files will work directly with Node.js too.
Loading environment files from your code
Starting with v20.12.0 (March 26, 2024), you can load environment files directly from your JavaScript code. To load the default .env file, just call process.loadEnvFile():
> node -e "process.loadEnvFile() ; console.log(process.env.FOO)"
from-env
Or we can load from a specific env file.
❯ node -e "process.loadEnvFile('.env.dev') ; console.log(process.env.BAR)"
from-dev
This programmatic approach is useful when you need to load different environment files based on runtime conditions. Keep in mind that since this happens after Node.js has started, setting NODE_OPTIONS here won't affect the current process.
Parsing environment files without loading them
Sometimes you want to parse an environment file without actually setting the variables in your process. The util.parseEnv function lets you do exactly that - it takes the raw content of a .env file and returns an object with the parsed variables:
❯ node -e "console.log(util.parseEnv('FOO=from-parse\n'))"
{ FOO: 'from-parse' }
This approach is particularly useful for:
- Scoped credentials - when you need sensitive values for specific integrations but don't want them globally accessible
- Validation - checking environment files before actually loading them
- Context-specific loading - different parts of your application need different environment configurations
When you might still need dotenv or dotenvx
While Node.js native support covers many common use cases, there are still scenarios where you might want the additional features that dotenv and dotenvx provide. These libraries offer capabilities that go beyond what's currently available natively:
- Overriding environment variables from the shell. Node.js always takes the value from the shell if it has been set.
- Variable expansion - reference and expand variables already set with
${FOO}. - Command expansion, e.g.
$(whoami) - Encrypted .env files
- Next.js env loading convention, such as the environment specific loading of env files following the naming convention of .env.$(NODE_ENV).
The dotenvx documentation has comprehensive examples if you want to explore these advanced features.
direnv
It is also worth mentioning the direnv command. This is an extension for shell and can be used for more than Node.js. It works by loading (and unloading) environment variables on a per-directory basis.
You'll need to install direnv locally and hook it into your shell.
Once you have it installed, you can create an .envrc in a directory
echo export FOO=from-direnv > .envrcAnd when you change into that directory, or a child of that directory, you'll get a message from direnv asking whether you'd like to approve the content. You'll also be asked for this approval whenever the .envrc file changes, perhaps by you directly or via a git pull. This protection is required, since this .envrc is a script that is run and could have unintended side effects.
direnv: error /home/bob/project/my-env/.envrc is blocked. Run `direnv allow` to approve its contentWhen you allow the content with direnv allow, you'll get a message indicating
that environment variables are loaded.
direnv: loading /home/bob/project/my-env/.envrc
direnv: export +FOO ~XPC_SERVICE_NAME
If you move out of the directory, e.g. cd .., you'll get a message indicating
that the environment variables are unloaded.
direnv: unloadingRead the direnv docs for many examples and patterns of usage.
Choosing the right approach for your project
With all these options available, how do you decide what's best for your situation?
For command-line focused workflows
I've found direnv incredibly useful for command-line work. It automatically loads environment variables when you enter a directory and unloads them when you leave. This works with any command or runtime, not just Node.js, making it perfect if you work across multiple technologies or spend most of your time in the terminal.
For Node.js projects
The landscape has shifted significantly. For new Node.js projects, I'd now recommend starting with the native .env support. It handles most common scenarios without any dependencies:
- Start with native support if you need basic environment file loading
- Consider dotenv/dotenvx if you need variable expansion, encryption, or follow specific conventions like Next.js environment loading
What's changed
A year ago, I'd automatically reach for dotenv on new projects. Now, the native functionality covers enough use cases that many projects won't need the extra complexity. The ability to control Node.js startup options through .env files is particularly valuable for debugging and development workflows.
Looking ahead
As Node.js continues to evolve its native .env support, the gap between native and library-based solutions will likely narrow. For now, the native approach provides a solid foundation that you can build upon as your needs grow.
The key is to match your tooling to your actual requirements rather than adding complexity upfront. Start simple, then add features as you need them.